- Homesteading
- Composting
- Trash Can Compost
Trash Can Compost
For a Small Space Composting System
Tiny gardens still produce an amazing amount of waste - but don't waste it, compost it!
It's hard to keep your compost pile going through the winter - even if you can get to it. Cold temperatures stall the micro herd in their tracks, and make it impossible to continue with frozen and chilled kitchen scraps on the menu.
A trash can will keep it all neatly tucked away, while it rots down and turns into black gold to fertilize your plants and make your soil more porous and rich. No store bought product can do what compost does.
Here's a way to get the process to carry on even through cold snaps and chilly times. It's useful to have garbage cans around in the garden; they get a lot of use for capturing rainwater, and making compost tea, but when winter is just around the corner the water has to be drained and the buckets and cans emptied in readiness for freezing temperatures.
Instead of putting them away, why not keep using them?
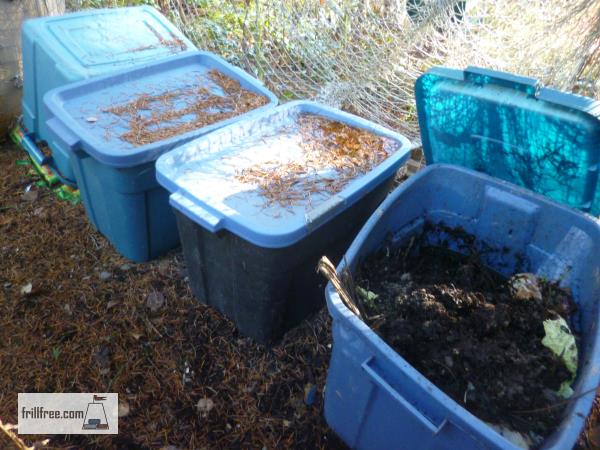 Trash Can Composting with Rubbermaid tubs
Start with a trash can - any kind will do, but plastic ones in a dark
color will be less visible. A round trash can, or a Rubbermaid tub will
work just as well.
If you have a few bushes or shrubs, tuck it behind those to disguise it.
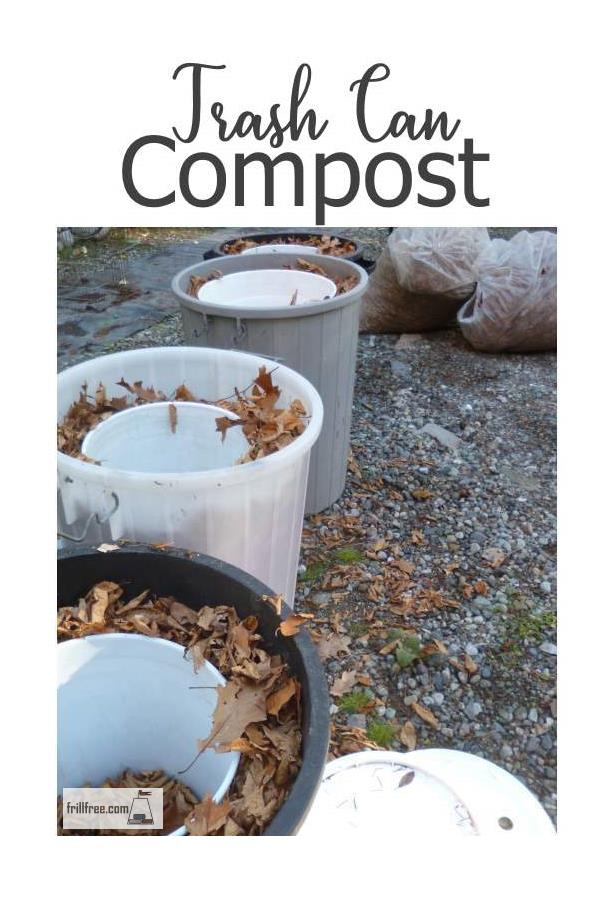
Here's my plan; fill the bottom half of the garbage can with dry fall leaves. Place a large 20 liter bucket on top of it, then fill in the sides between the bucket and the can until you reach the top.
This is where you'll put your kitchen scraps over the winter, with the leaves acting as insulation to keep the scraps and the micro herd just above freezing.
A shovel full of mature compost will add the
micro organisms and a few worm eggs which will hatch and start the all
important task of breaking the scraps down.
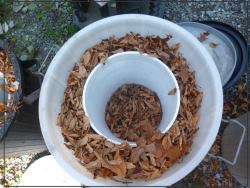 A layer of leaves in the trash can will insulate the inner bucket
In the winter, if it's cold in the forecast, put a layer of dry fall leaves in the bottom to insulate the next part of it, a large 20 liter bucket.
This is to keep the compost in one place, and believe me, it can get messy. In the spring, you can easily pull the bucket out and dump it into a more convenient composting system, such as a tumbler or wire bin.
Drill a few holes in the bottom of it, to let any moisture drain out. Excess moisture will not only make it incredibly heavy, but it will smell awful. The decomposing cycle depends on air to allow the microbes to survive.
It's also a fallacy to put the composter in the sun - it will create its own heat just from the living and breathing microbes - extra heat will just cook them.
Snow, on the other hand, will insulate the compost, keeping it from freezing right through.
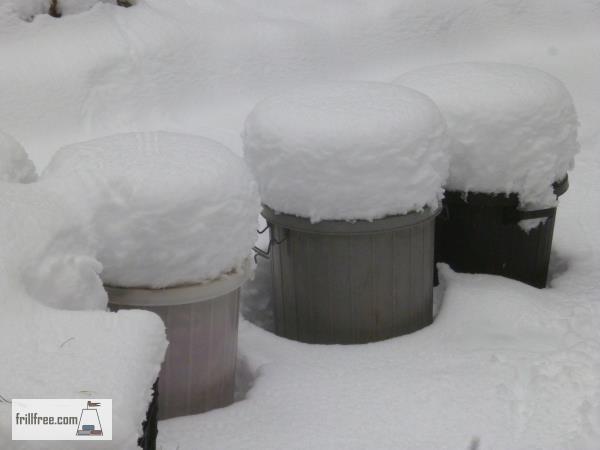 Snow insulating the Trash Can Compost
Start adding your kitchen scraps, alternating with some soil from the garden to inoculate it with bacteria, earth worm eggs, fungus and all the other members of the micro herd.
Without these, nothing will happen.
The layers don't have to be perfect, but they shouldn't be too thick, in fact, ideally, you'll mix the soil and the kitchen scraps together a bit, to make it easier for the microbes to find the new delicious organic matter.
When spring arrives, the partially rotted down scraps can be easily tipped into a new compost bin, where they'll continue to decompose and heat up.
Since they've never been frozen (with any luck) you'll be able to do this early in the spring so you'll have a new batch of mature compost for seed starting or top dressing when planting your vegetable garden.
Don't thank me now, that can wait until you have that first crisp salad of the season.
