- Homesteading
- Fire
- Lighting the Fire
Lighting the Fire
How to Start a Fire Safely
I am a participant in the Amazon Services LLC Associates Program, an affiliate advertising program designed to provide a means for me to earn fees by linking to Amazon.com and affiliated sites. Other links on this site may lead to other affiliates that I'm associated with.
Each woodstove is different, so finding the perfect way to light the kindling and get a fire going will alter a bit with each one. This is the way I start a fire that can be customized for each type of air tight heater, no matter the size of the firebox.
There should be a base of ashes in the bottom of the firebox, but you don't want it so deep that it will spill out when the fire is burning. Nothing causes a panic like glowing coals rolling out onto the hearth. Push the ashes to the back so they don't spill out.
Some wood burning heaters have an ash box, but as this is also where the air comes in for combustion it's a good idea to have that clean.
Use it and dispose of the ashes before you start, and also clean the window.
This is easier than it sounds.
Dampen a couple of pieces of paper towel with plain old tap water and dab it into the ashes.
Rub it around on the window to get rid of the built up soot. You won't scratch the glass, and there are no chemicals.
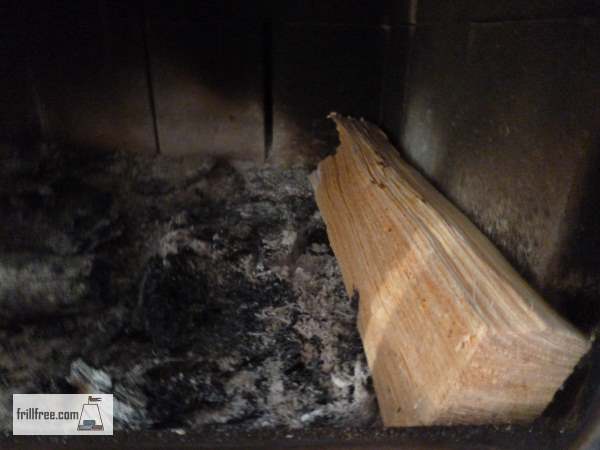 Start with the bridge...
I start with a bridge. This is a piece of wood that will fit across the firebox and give something for the other pieces to rest on, leaving enough room between the kindling to allow the fire to burn. Sometimes the bridge goes horizontally across the back of the firebox, whichever fits better.
This is the main cause of slow starting, not leaving that crucial space.
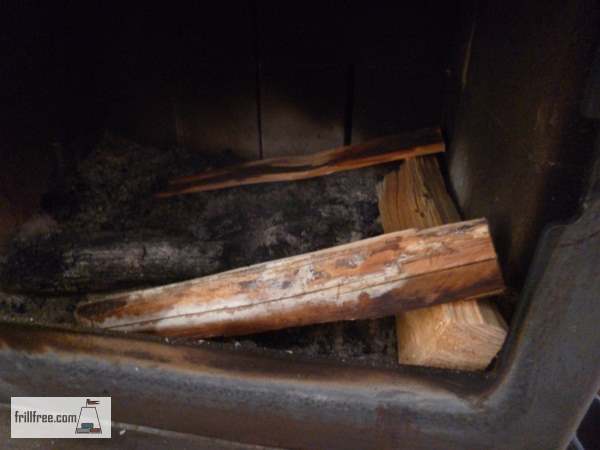 Two abutments...
As my firebox is wider than it is deep, I put the bridge at one end. If the firebox is deep and narrow, I put that at the front, building the rest of the fire behind it.
You will get to know your stove in time. Use these directions to get you started, then tweak as needed - you'll find your own way of doing it.
With some stoves, especially those with a masonry chimney, you may need to light a candle or have some other source of heat to warm up the chimney. Not doing so will cause the stove to send smoke out of every orifice, making lighting the fire a very fraught and uncomfortable event.
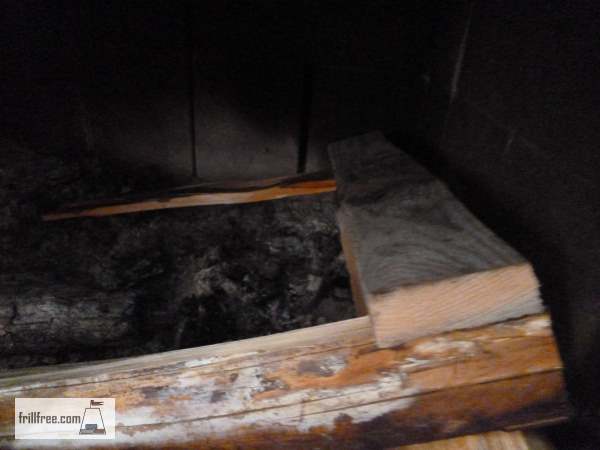 Another piece is placed across the abutments to hold them in place...
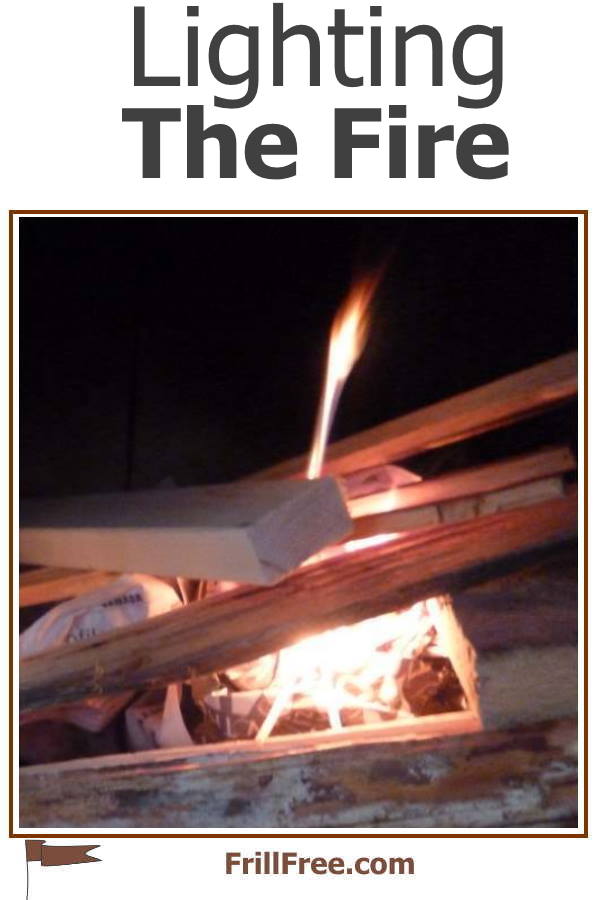
Two pieces are placed at each end of the bridge. I call these abutments. Then another small piece is placed across those, parallel to the bridge. I have now morphed into placing a small piece at the front end of the abutments, on top of the paper, so it creates a good bed of coals when it falls.
Two or three pieces of newspaper are crumpled quite tightly and placed in between the two abutments. Other things you can use are paper towels (used is fine) or even dryer lint.
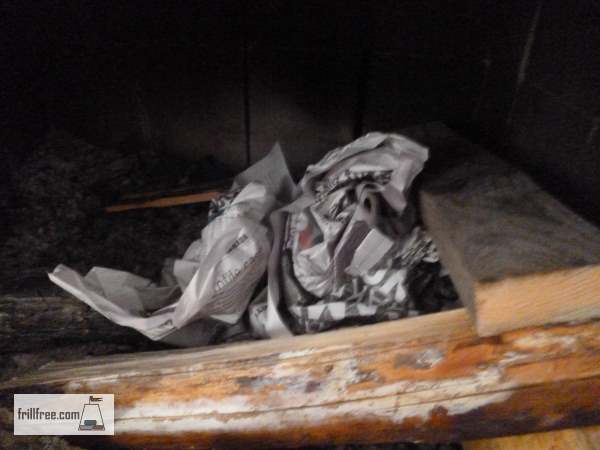 Three or four pieces of newspaper, scrunched tightly...this prevents it from burning off too quickly
Kindling, small skinny pieces of cedar, if you have it, or any other dry type of wood are placed across the paper, and the fire is lit. You can use really dry willow twigs, which is a good way to eliminate having to chop with an axe.
I try to get the paper really going quickly by lighting it in several places.
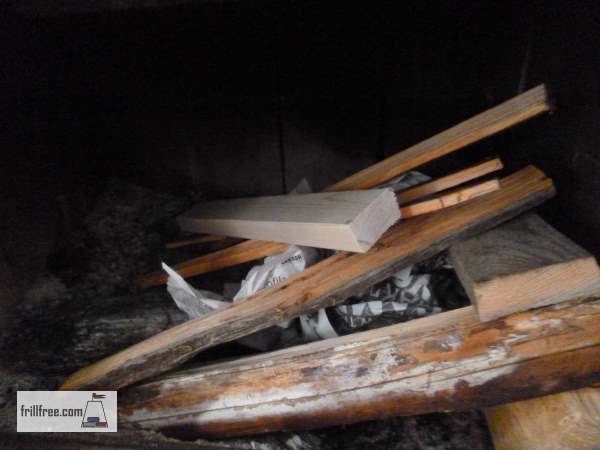 Kindling goes on next...
With luck, the kindling will light before the paper burns up, giving a good base to set another couple of smallish pieces across and get those to catch.
If it doesn't go, there are a couple of things that could be happening.
One is that your wood is damp, in which case, you're doomed. You'll never be able to start a fire with damp wood. You can put damp wood on a fire that is already going and it will dry out and then burn in the heat. You'll have a hard time starting one with wet wood.
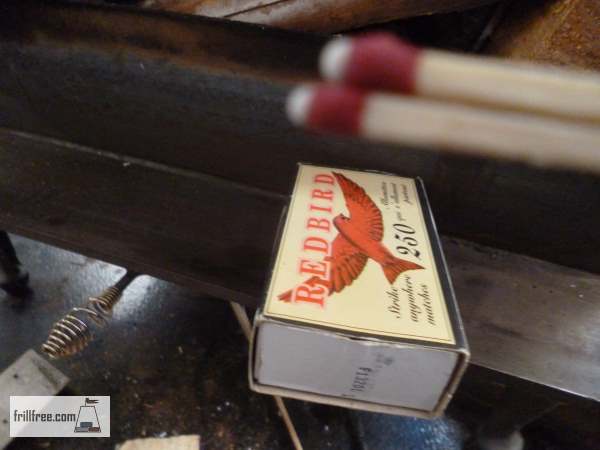 Wooden matches work best, and using two together can get the fire going extra fast...
The other thing that could be happening is that the air in the chimney is cold, and has settled, making it difficult for the warm air to chase it out.
This one is an easy fix; crumple up some more pieces of newspaper, and relight the fire. Once the chimney is warmed up it will start to draw, or pull the warm air up the flue.
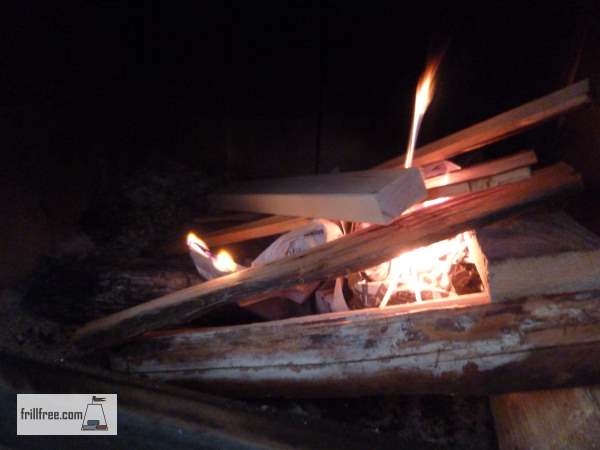 Light a couple of places on the newspaper...
Generally, I close the damper which draws in cool air for combustion, and leave the door open a crack, which creates a good draw and really gets the fire going. Never shut down a fire until it's really going and putting out heat.
 The damper closed... The damper closed... |
 ...and open ...and open |
Once the fire is firmly established on several of the smaller pieces and the abutments have burned through, you can add a couple more medium pieces and close the door, opening the damper at the same time.
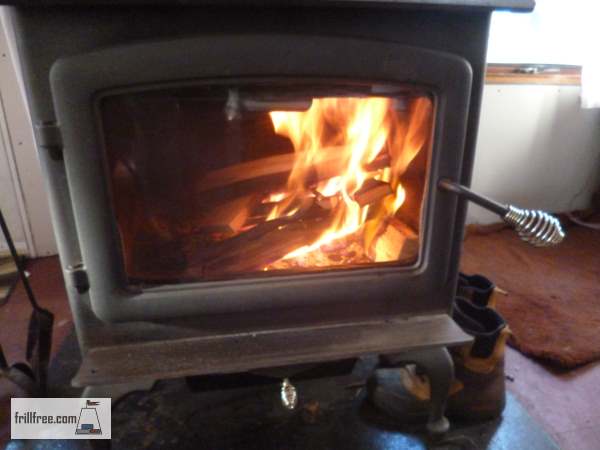 Enjoy the flickering flames...
It's recommended that you get the chimney cleaned by a professional a couple of times a year so that soot and creosote don't build up. This is a major cause of chimney fires, so don't omit this important step.
Once you know how to start a fire safely, your home will be cozy and warm in no time at all.
Some Choices;
Moving the warm air around once your stove is lit is crucial. This little Ecofan works great - and doesn't require any electricity. It works off the heat of the stove itself to make the blades spin around.
You can use a similar method to start a fire in the outside fire pit, once you clean it out and get it ready. Same idea, use dry wood, start with small tinder dry sticks, crumpled up newspaper, and keep it going with gradually larger pieces of wood.
Why do I need to get a hot fire going at first?
Why do I need to get a hot fire going at first?
Two reasons; one is to get warm air pushing out the cold air in the chimney - you know that warm air rises, cold air sinks? The cold air pushes down, preventing a struggling fire from getting going. Hot fires get things moving. Second is to stop the formation of creosote, which can settle and accumulate at the top of a cold chimney.
Is it essential to burn only dry wood?
Is it essential to burn only dry wood?
In most cases, yes. Dry wood burns hotter, while damp wood smolders. The only type of wood that burns green is alder, which is not always available.
What kind of tools do I need for a woodstove fire?
What kind of tools do I need for a woodstove fire?
At least a poker of some kind, and if you can, a pair of log lifters. Most commercially manufactured tool sets include the poker, a brush and a pan to remove cold ashes from the woodstove.
